
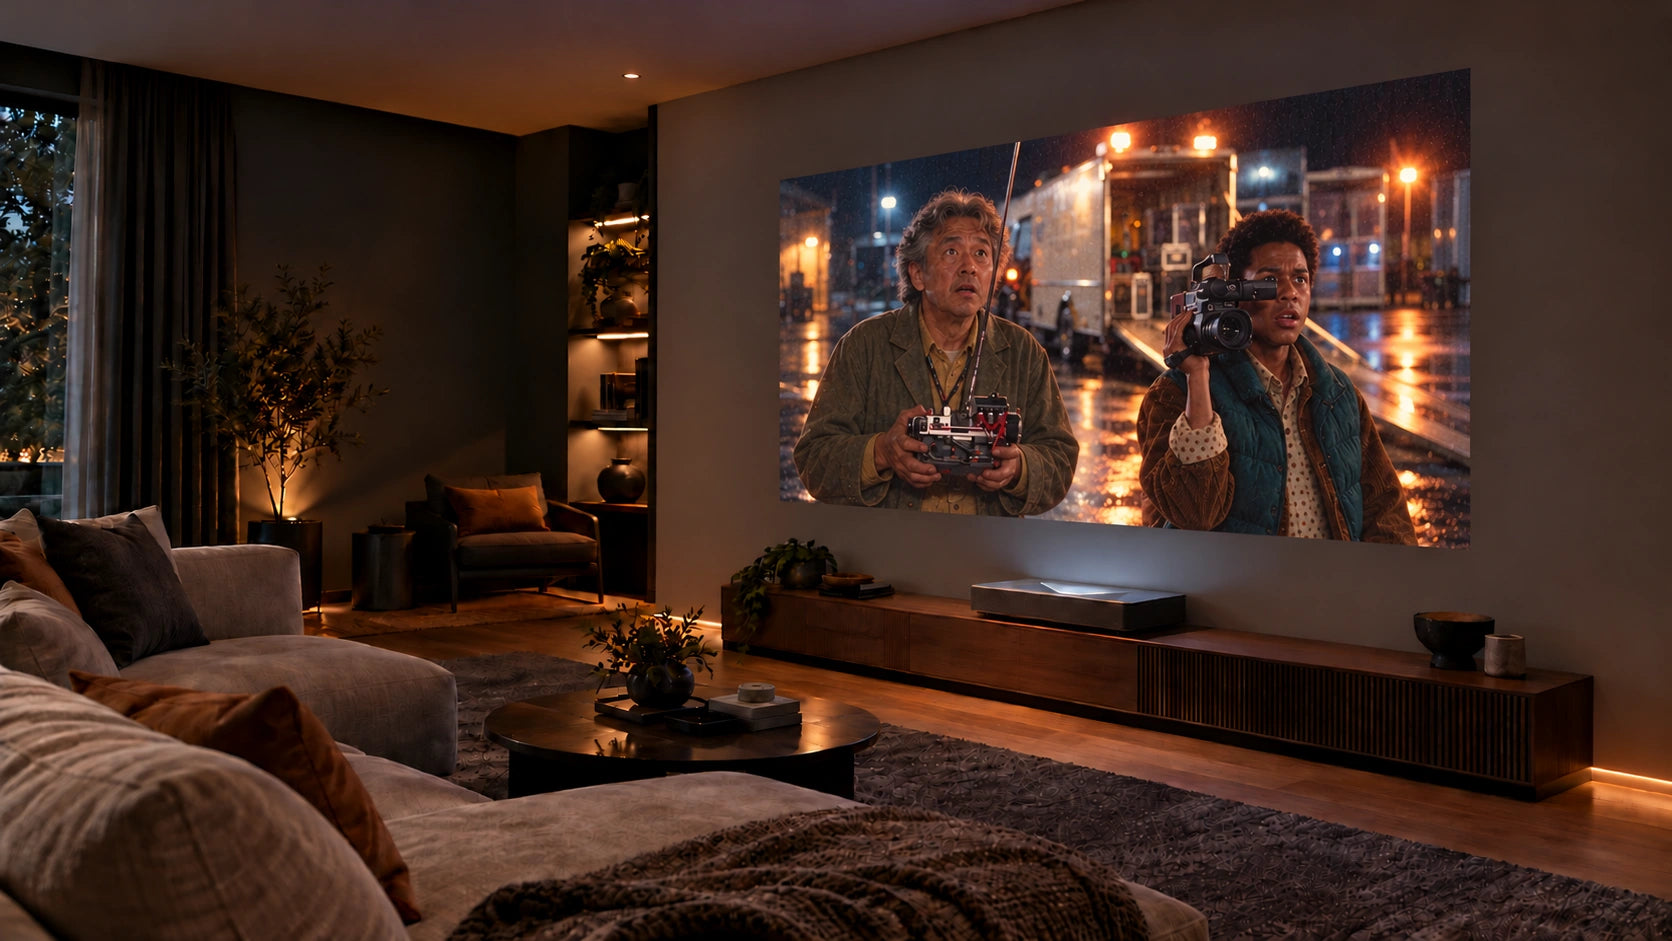
Big-screen living.
Up close.
A painted projection surface for your ultra-short-throw setup. Choose White, Grey or Silver .999 Fine to suit your space.
 Concept visualization · Placement follows your projector’s manual.
Choose the finish for your room.
Your projector, room lighting and preferred contrast all matter. Select a finish below to configure it.
 UST-ALR · White
Configure & order.
Choose your finish and size. Prices and availability come directly from our Shopify product.
View full product detailsHow much do you need?
Enter the width and height of the area you will coat. Your selected package determines the quantity estimate.
A simple plan for your UST setup.
Start with your projector.
Use your model’s throw-distance and image-height chart. A UST sits close to the wall and projects upward; the exact offset depends on the model and image size.
Open projector placement tools →Make the wall smooth.
The steep projection angle can make bumps and surface defects more noticeable. Prepare the wall carefully and follow the current installation guide for your coating.
Master Installation Guide ↗Set the picture for the room.
Align and focus the image, control direct light on the wall, and adjust picture mode and color balance on the finished surface. Request a sample for your projector and lighting.
Download color setup guide ↗Ambient-light performance depends on the projector, lighting direction, surface and selected formulation. Paint does not make direct light on the image disappear; test your actual setup.
Find UST-ALR documentsYour UST questions, answered.
Does this work with every ultra-short-throw projector?
UST-ALR is a project-specific coating. Confirm the formulation with our team and test a sample with your projector, wall and lighting before a full installation.
Which sizes can I order?
Choose Gallon, Quart, 5 gallon, Ready Mix 2.5 or Ready Mix 3.7 in White, Grey or Silver .999 Fine. The configurator displays current pricing and availability.
Can I project directly onto the painted wall?
Yes. The prepared and coated wall forms the projection surface. Keep it smooth, follow the application guide, and position the projector according to its manufacturer’s instructions.
Ready to Transform Your Space?
Talk with our team about your projection project.